Self Learning Program
May 2002 - Week 3
Painting With Retouch Tool - Part 3
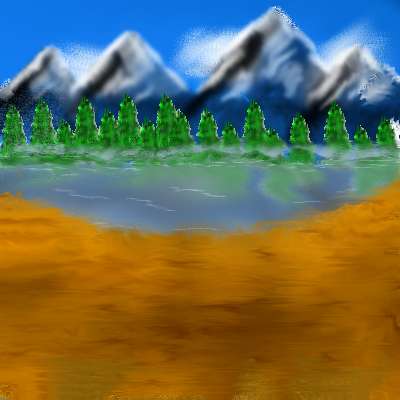
The Lake and Foreground
Tutorial found
HERE

Homework: We are
continuing on with the homework the same as the last couple of weeks. This is
strictly voluntary on your stages of your work ; However, we do expect to see
the finished product when we finish this series. ;o)
Again I used photo found at
Webshots to try to
duplicate
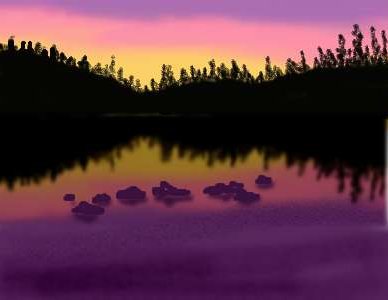
Russell Lake

- Opened new image - 400 X 300 - White
- New Layer (Sky) - Airbrushed (Settings: Round, Size-30,
Opacity-100, Step-1, Density-100) in 3 layers at top of image. Colors:
#9C6AB1, #FF91B6, #FFD065. (This was top third of picture)
- Smudged these until I got effect I wanted.
- New Layer (Trees) - Since these were just silhouettes, I
did them in one color #050503 and drew a horizontal line with airbrush (size
30) across where I wanted base to be. Then I switched to size 4, lowered
opacity to 40 and density to 50 and drew in the trees.
- I hid white background and merged tree and sky layers
- Using selection tool (rectangle) I selected top portion of
picture down to base of trees and hill. I promoted selection to layer (Renamed
Reflection)and flipped. Then positioned at bottom of selection. Deselected.
- On Reflection layer I adjusted color to -75.
- For lower section of image I selected color neared the
bottom on reflection (#58265A) and airbrushed in the bottom. I then used
Retouch>Darken RGB to darken more at very bottom.
- Applied Gaussian Blur set at 2 to reflection layer.
- Painted in rocks in foreground using color #3B133D.
- Then rather than selecting each rock, promoting to layer,
and flipping, I decided to just paint in reflection on new layer using color
#3A123D... then used gaussian blur set at 2 on this layer.
Time: Approximately 30 min. (Not counting time writing this
and looking up spelling on "silhouette"...LOL
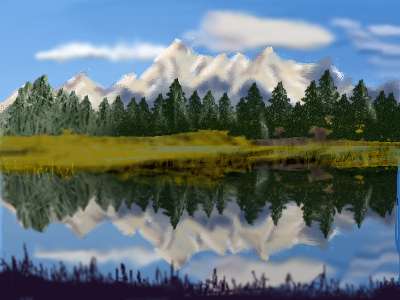
Reflections on Water
Attempt at Duplication of picture from
Webshots

- Opened new image 400 X 300
- New Layer (Sky) - Picked a medium and a pale blue and flood
filled as gradient with light on left side.
- New Layer (Sky2) - Using Selection tool set on rectangle
selected top half of picture. Changed foreground color to white and background
still the medium blue. Set gradient with dark on top and light on bottom and
floodfilled with opacity set on 29.
- Merged 2 sky layers into one named SKY and smudged some.
- New Layer (Clouds)Made clouds as per Week 1 tutorial
- When satisfied merged with Sky.
- New Layer... Ground... Using #877505, I painted in green
ground
- New Layer .. Trees....Using tube of pine tree at varying
sizes I place trees .
- Using Retouch>Lighten RGB I lightened some trees and added
highlights to others
- Switched to Ground level and using Retouch>Darken added
shadows
- When satisfied I merged all levels.
- Using Selection>Rectangle I selected top portion of picture
down to shoreline. Promoted selection to layer and flipped.
- Merged layers
- Using Retouch>Darken RGB doctored up coastline a bit.
- Using lasso selected lake area and then with darkened with
Color adjustment.
- With lake still selected applied Effects>Ripple
- Using a lighter shade of the ground green, I painted in
reeds on right side of lake at shoreline.
- New Layer - with almost a black green I painted in the
grass in foreground. Then used Retouch>Soften.


Return Home
Created 5/19/02
Updated 5/25/02
