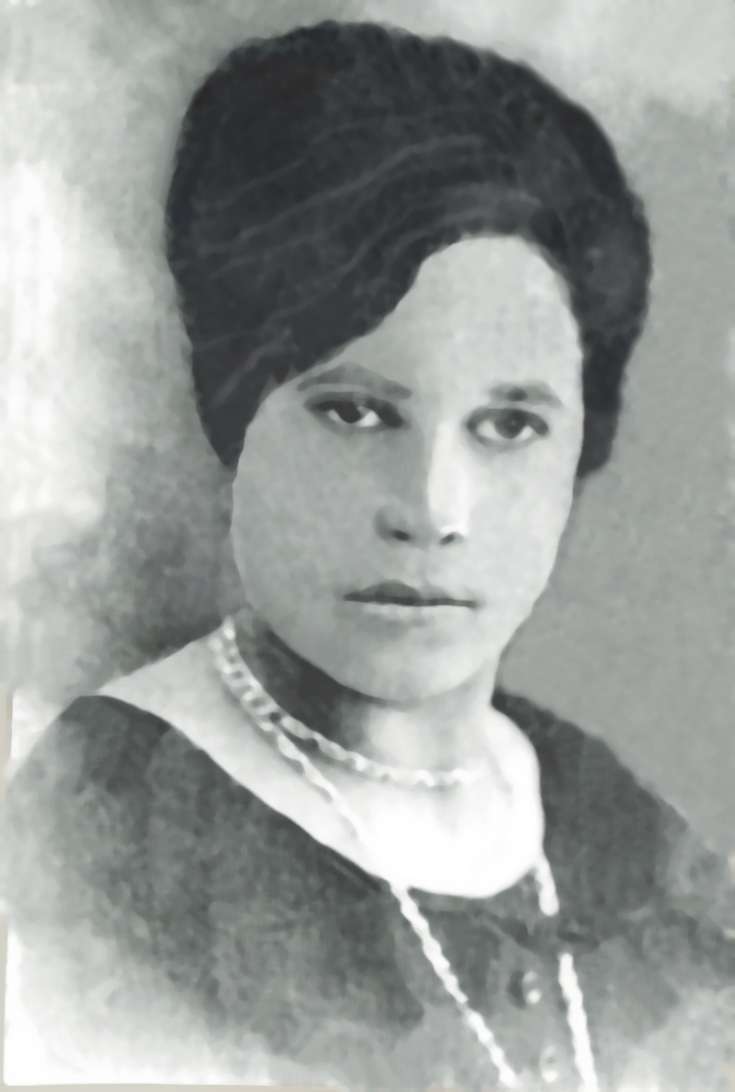
Restoration Challenge #28
How I Did It
I tried playing around with hue and saturation, curves, histogram and several other things but was unimpressed with my ability to make picture look better. I finally resorted to nothing more than cloning and using the Retouch>Lighten/Darken to remove the cracks, missing corners, and to remove stains and discolorations. When I'd done the best I could, I applied glaussian blur and median filter to help smooth out the picture, Exported as JPG at 60%
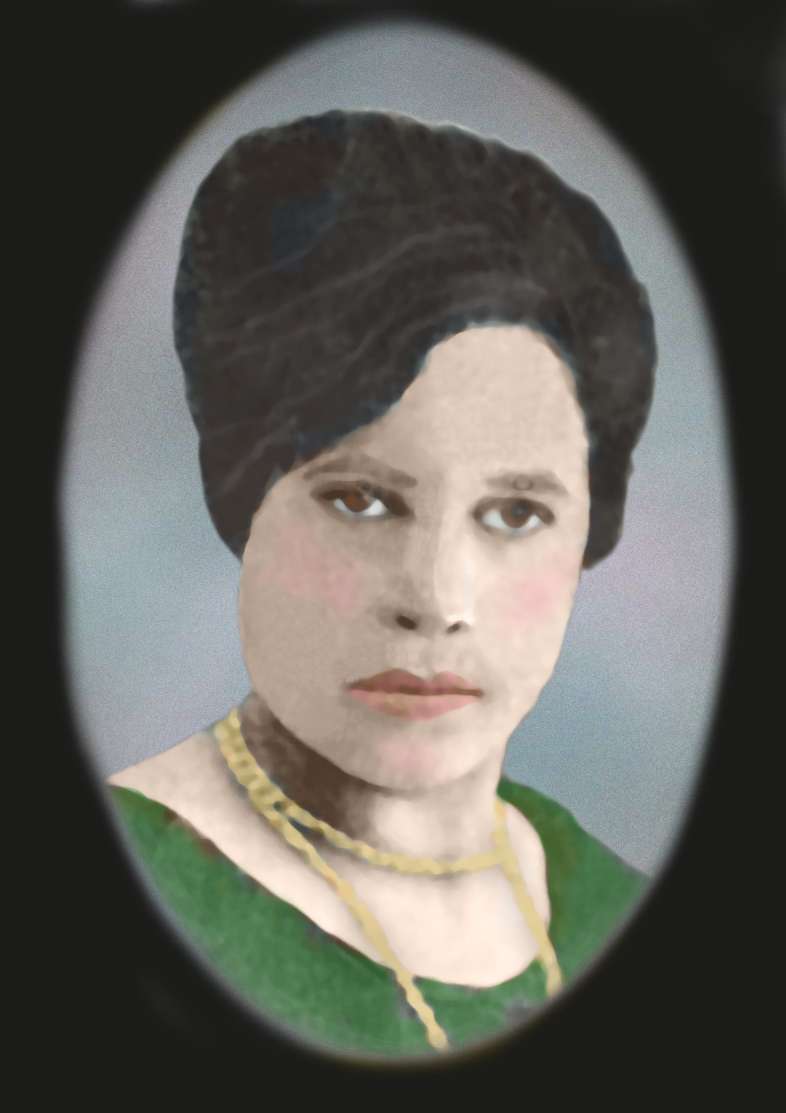
Coloring:
To color it was fairly straight-forward using either Blend Mode set to Color or if using Normal to get my choice of color and lowering Opacity. I used a different layer for each item I colored and then merged layers.
· I then opened a new transparent image a tab larger than then one I was working with.
· Opened one of the studio backgrounds that someone here provided (Thanks) and copied as new layer to blank image.
· I selected woman from colored picture and copied to new image as new layer.
· After deciding background was a bit too bright for picture I opened new layer behind woman and with airbrush set on very low opacity setting, went over background with a gray to tone it down.
· Added noise to background.
· Using Selection set on Ellipse I selected oval around lady. Inverted selection and painted with Black
