Retouch Pro
Photo Art Challenge #4

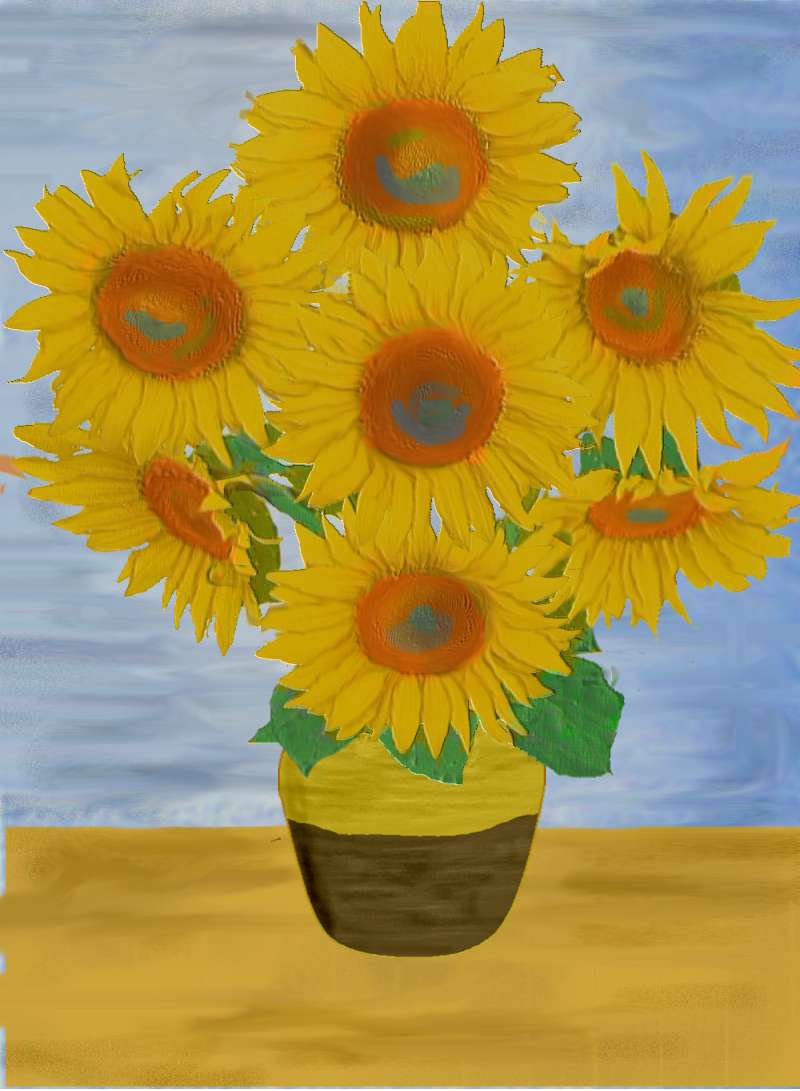
What I Did
- Opened new transparent image 800 X 1100
- Painted in background ( Blue was a gradient). Table was solid.
- Created new vector layer and drew vase. Converted to Raster level. Colored
it in.
- Using freehand selector tool selected various sunflowers, leaves, and
stems and placed each as new layer over vase layer. Using magic wand
selected yellow of sunflower, inverted selection and erased all unwanted
parts. Resized and rotated as needed.
- Since petals seemed to lake the definite that was in his painting I chose
a brown tone from center and outlined some of the petals with airbrush and
then smudged
- When all flowers and leaves suited me, I merged the flower levels.
- I then copied this layer as a new layer. Embossed it and moved it under
flower level
- Reduced opacity of flower level to 40%
- Since embossed level was in gray and this gave flower level a grayish
cast, I used "Color to Target" and colored petals an orange color,
leaves a green, and the center section a combination of these and dark
brown.
- I then went to flower level and adjusted saturation more towards red.
- Then with "Darken RGB" , then smudge, I worked on vase and
background

Return
Home
Return
to Photo Art Page
Created July 8, 2002


